Cello Project
 |
The Mold
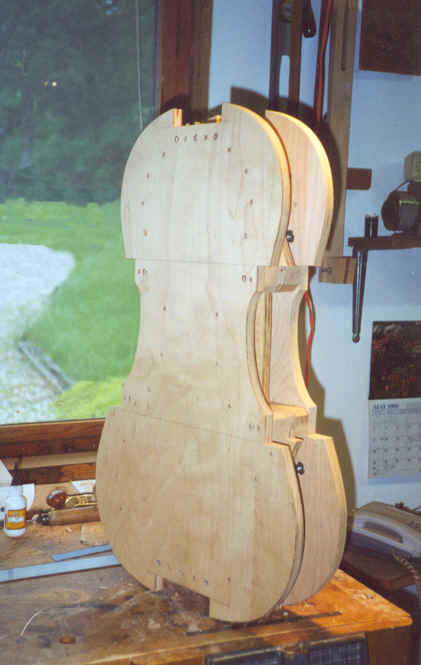
This mold for making a cello is built in three parts. The two outer layers serve as the form for bending the sides, or ribs, while the inner layer holds the rib structure together while other processes are underway. Here is the completed mold ready for the next step, bending and gluing the ribs. |
| The Ribs
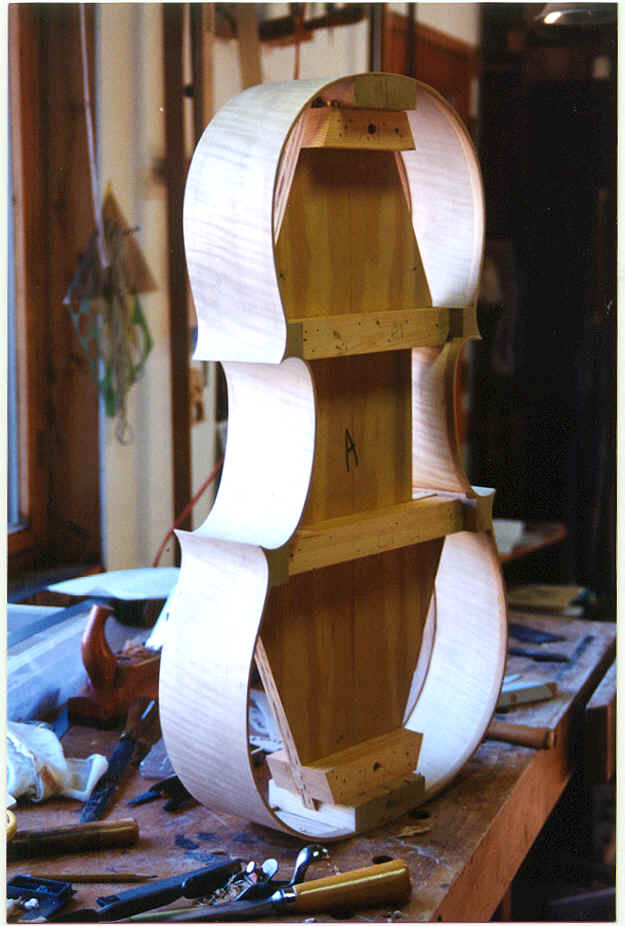
This picture shows the ribs bent and glued to the blocks. The top and bottom layers of the mold have been removed. The middle layer of the mold is temporarily glued to the blocks and will be removed later. |
 |
 |
The Linings
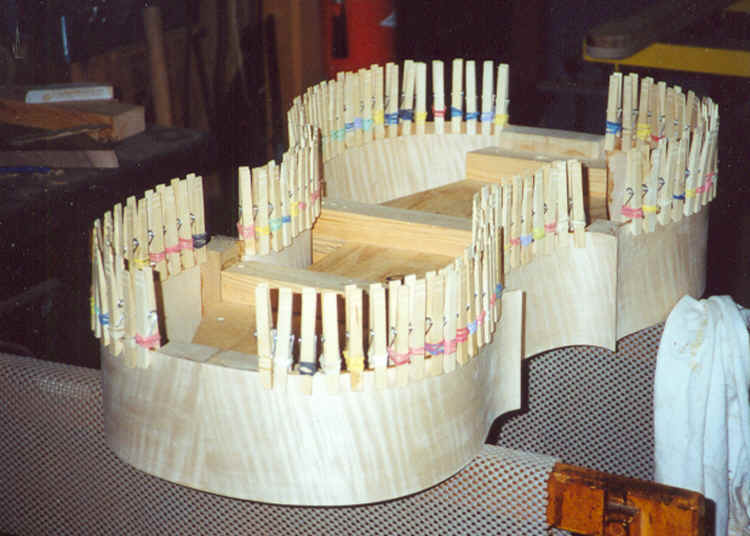
The linings are thin strips of wood (cedar in this case) glued to the top and bottom edges of the ribs. These reinforce the edge and provide more glue surface for the top and back of the instrument. |
| The Back
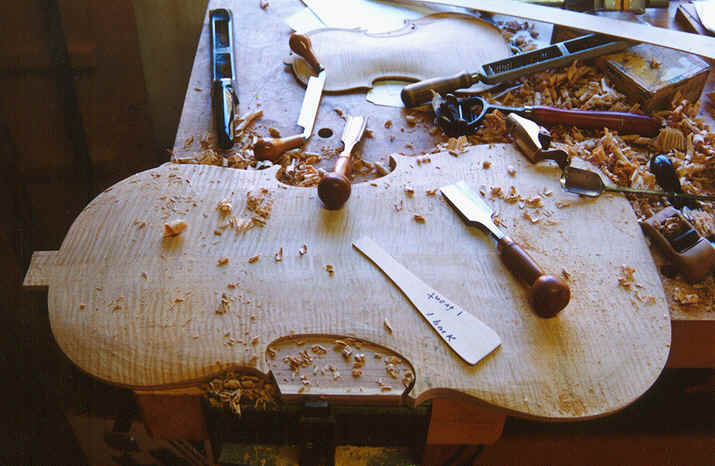
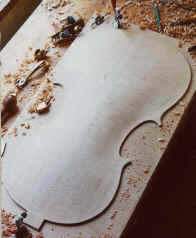
The ribs have been set aside and now work has begun on the cello back. The figured maple used for back is hard and somewhat difficult to carve. In spite of this I enjoy the process. |
 |
 |
Carving and graduating
The photo to the right shows this process nearly completed. As I approached the final thicknesses the back was held by the fingers of one hand and tapped with the other to test the tap tones. It now has a clear sound, neither a dead thud or ringing, metallic sound. |
| Arching the Back
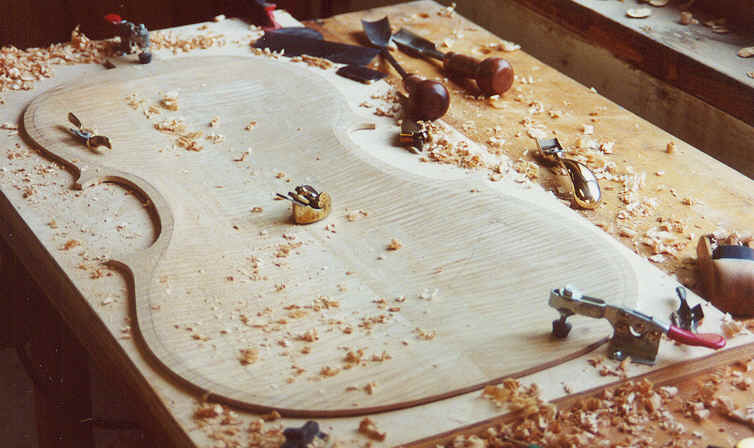
The shape of the back has been refined and smoothed and is now ready for the next step, hollowing out and graduating the thickness. I chose to do the carving and shaping using hand tools only. It took a long time but I felt more comfortable approaching the final shape slowly. I sensed that there was no way to add wood back if I accidentally removed too much! |
 |
